WHY VITEK VIOLINS
Premium Setups and Adjustments
All of our instruments are fitted with the finest quality strings, fittings and are tonally adjusted for optimum performance.
We take as much time as is necessary for our instruments to sound and play to their optimal potential and apply these same standards to your instrument if it is in our shop for set-up, repair or restoration.
We extensively play test our instruments to achieve a clear, focused and balanced tone.

PEGS
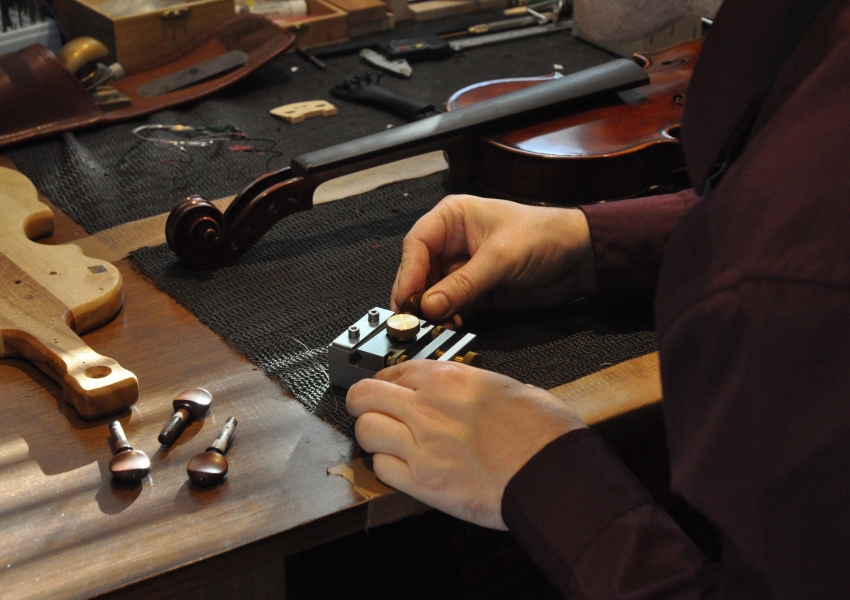
The holes in the peg box must first be reamed in order to create a specific taper within the hole. A peg shaper is then used on the peg in order to create that perfect match. After all four pegs have been fitted, they have to be shortened and the ends are rounded. We drill the string holes in the pegs by hand and soften the edges of the holes with a file to ensure the strings do not break on sharp edges.
Once all 4 pegs are fitting perfectly, we apply peg paste and a special soap to have them turn smoothly.

FINGERBOARD
A well adjusted fingerboard can make playing much easier and we believe that even a beginning student deserves an easy to play instrument. If you have experienced any of the following difficulties we recommend having your fingerboard checked.
- Difficulty in pressing down the strings
- Having difficulties playing high up on the middle strings or in thumb position
- Finding string crossing difficult
- Having a buzz or noise on a certain note
- Difficulties playing in tune
- Strings breaking often
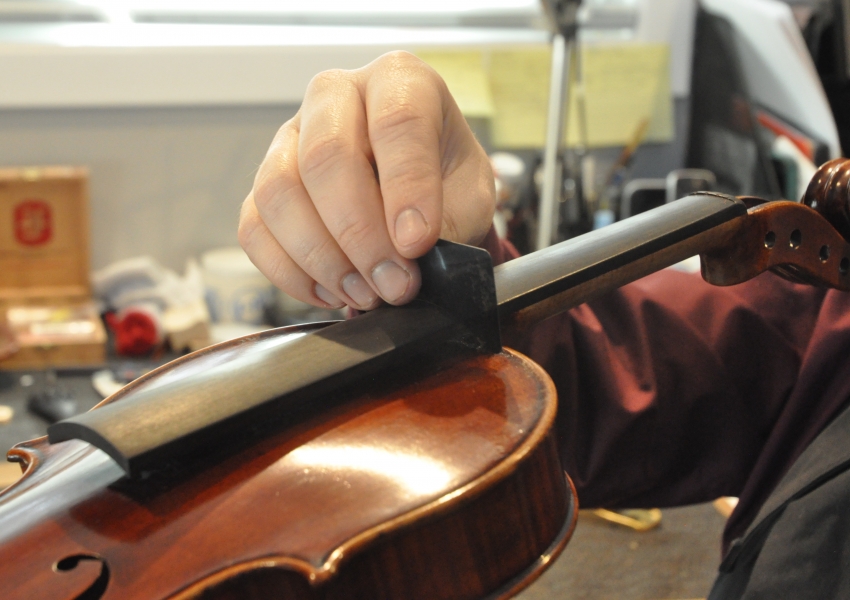
The fingerboard requires having a specific curve across the strings and a slight hollow along the strings. The edges should be rounded and comfortable to hold.
We shape the fingerboard by hand using planes and scrapers to give it the correct shape followed by a polish with sand paper of various grades and a polishing agent.
After this is done we check the curvature and the hollow of the fingerboard to make sure everything is in order for optimum playability.
NUT
The nut is a separate piece of ebony hand shaped at the end of the fingerboard. The nut should have the correct height and spacing to ensure that the strings do not touch the fingerboard so there is no “buzzing “. It must have the proper projection from the peg box, and be smoothly finished and lubricated with no sharp edges, so as to not cause string breakage.

BRIDGE
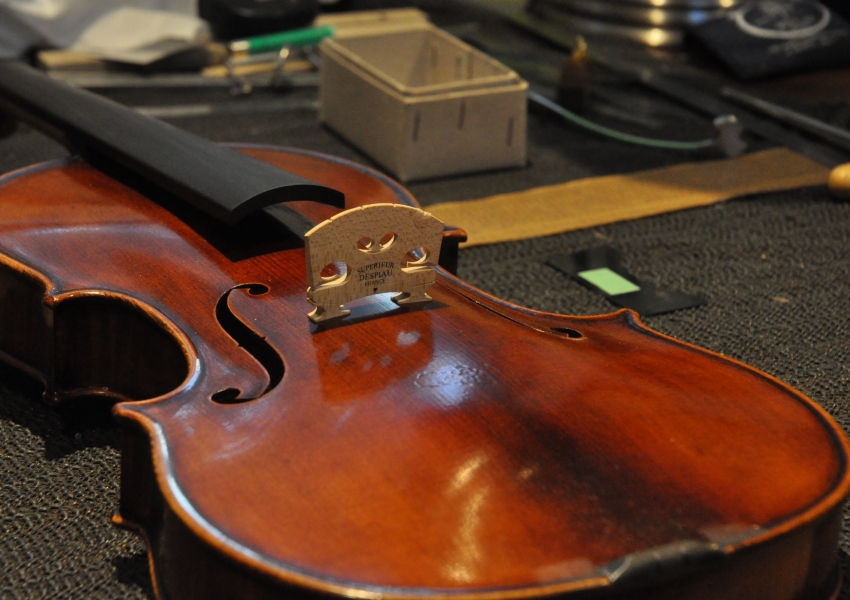
We can adjust the sound in many ways with the bridge, depending on which bridge blank is used or how we shape and taper the bridge. This has a huge impact on the sound quality of a finished instrument and each instrument needs to be looked at individually as they all have a different voice. Cutting a bridge involves many steps, starting with choosing the right bridge blank and perfectly fitting the bridge feet to the top plate so it can transfer the vibrations to the body.
The next steps are the most important for the sound of your instrument. First we taper the bridge to the desired thickness, determine the height, mark the correct curvature and then we shape the bridge for optimal acoustics for that particular instrument.

SOUND POST
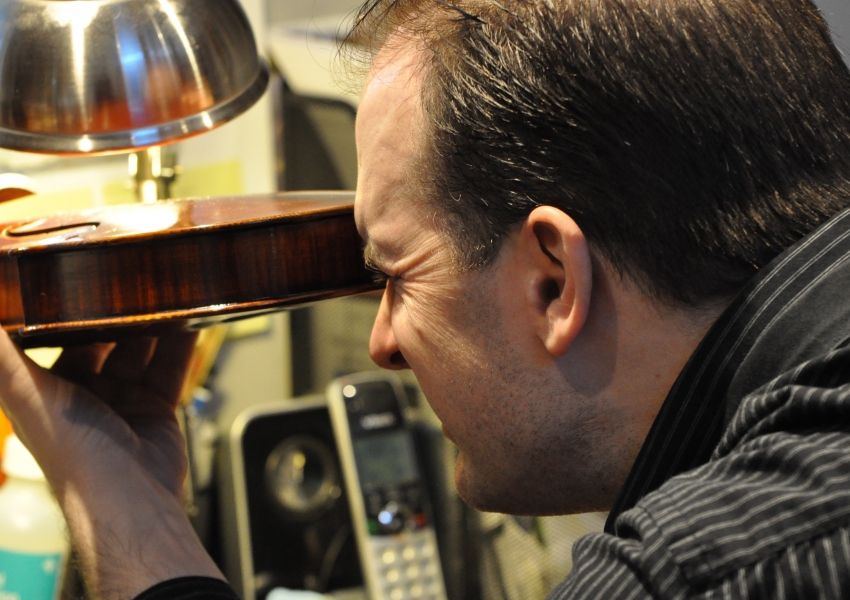
The sound post is the soul of the instrument. The sound post is made of a small dowel of well aged spruce. It’s exact fit and location are critical to ensuring optimal sound transmission. The sound post is located inside the violin and connects the top and back plates. It is located slightly behind the treble bridge foot and is not glued in place, standing only under tension. The top and bottom ends of the sound post have to fit perfectly with the inner surfaces of the top and back plates of the instrument.
The sound post needs to be fitted at the perfect spot and under the right tension for optimal sound transmission. It is fitted by hand with a very sharp knife and is continually adjusted until optimum sound is achieved.
